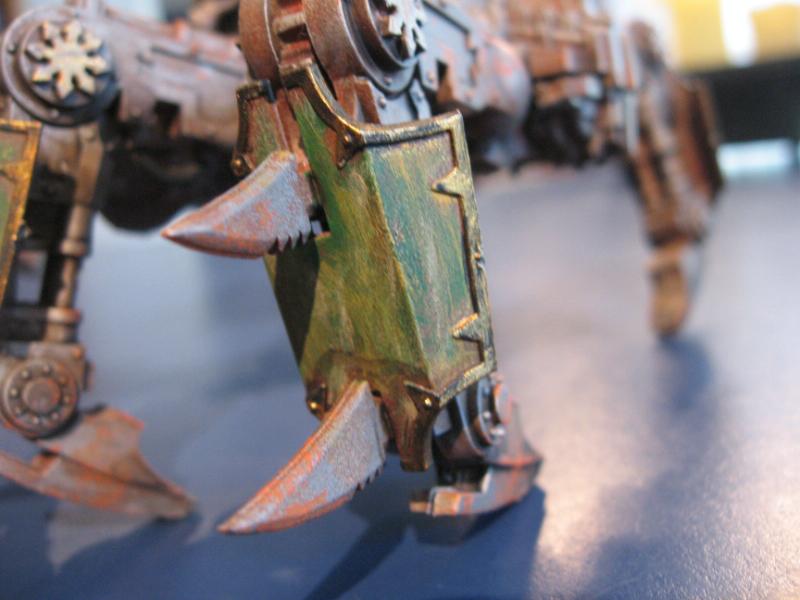
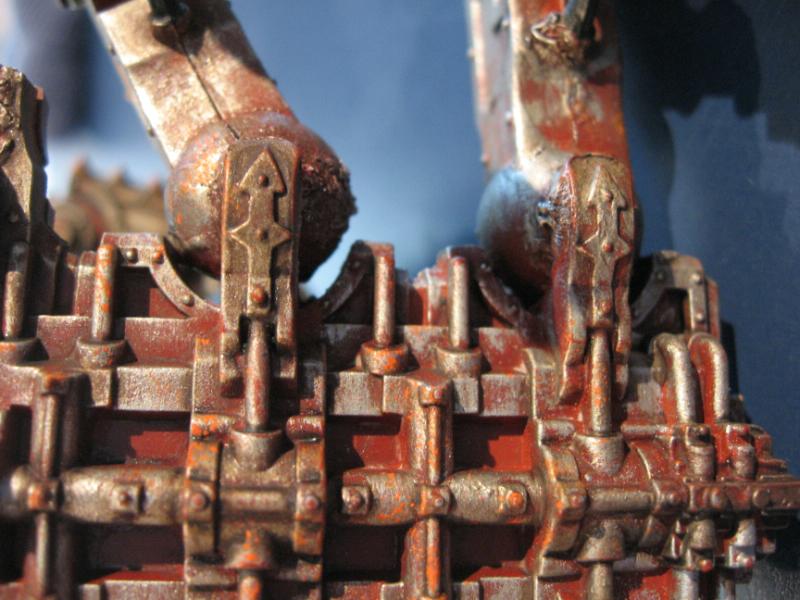
I started with a base coat of Dull Red spray from Tamiya's range of paints to the whole model. After letting this dry I then sprayed the top half of the walker legs and the torso in Testors model spray SAC Bomber Tan. After this I painted the torso area of the walker in Testors model spray Bomber Green. I then dust coated the top of the legs and the top of the torso area in Testors Desert Sand. (To dust coat hold the can about 18inches to 2 foot away and spray lightly in spurts as to not cover the previous coats) After all this I noticed my rust color on the legs was not going to work out how I wanted with all the layers that had collected overspray on the metal sections. To fix this I lightly coated all the leg and metal areas with my original coat of Tamiya's Dull Red. I waited a day for all the paints to cure before applying the hand painted highlights. At this point the model looked very messy and dry sprayed texture all over everything but every different color section was the appropriate color. (Normally this would be bad but it is nurgle after all.) To start on the highlights I first painted all the raised parts of the muscle area on the torso section in bubonic brown. I then did a further highlight on the very tops of the raised sections of muscle in bleached bone. I now went to the red walker legs and simply dry brushed chainmail silver over everything. I picked out further points of interest on the walker legs like the chaos stars or skulls and did a further dry brush of shining gold. The armor plates were painted snot green followed by bubonic brown dry brushed streaks and finally a bleached bone highlight on the edges of the armor. The trim of the plates were then dry brushed shining gold. At this pointed I added all the details like the yellow eyes the bone colored spine and finger nails ect. I used Devlun Mud Wash (pixie dust) in a medium wash over the entire model. The last step I took a sponge and applied random splotches of blazing orange here and there to the metals to represent fresh rust. I applied Tamiya's Flat Clear coat to protect the paint job. At this point the model was finished and I only had about 3 hours total invested in it.
(Sorry for not having progress shots.)
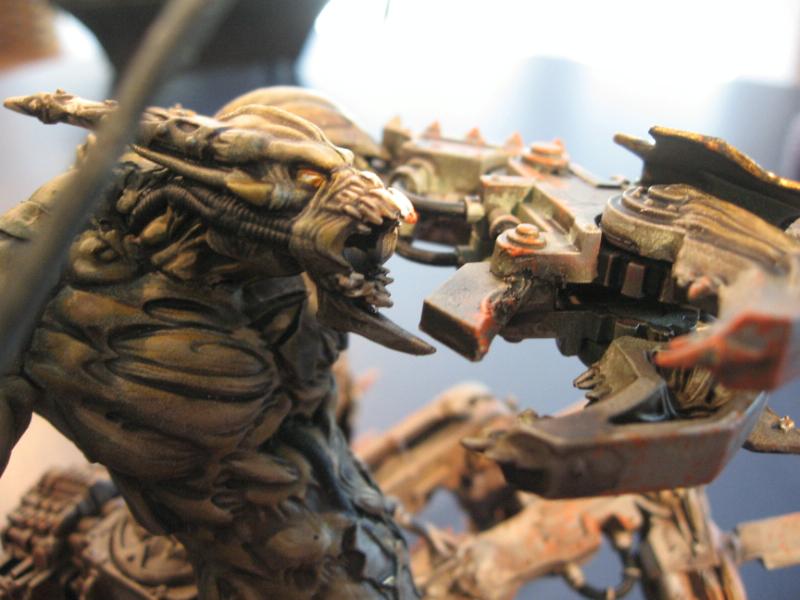
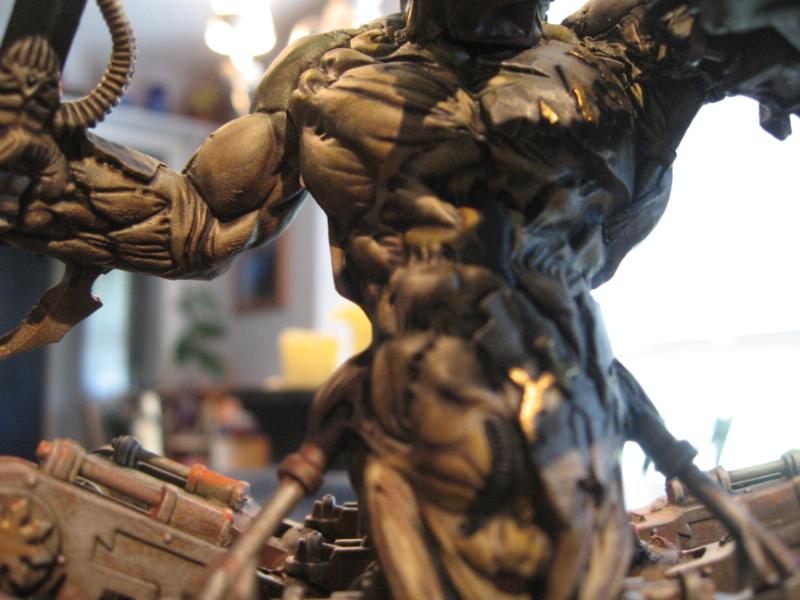
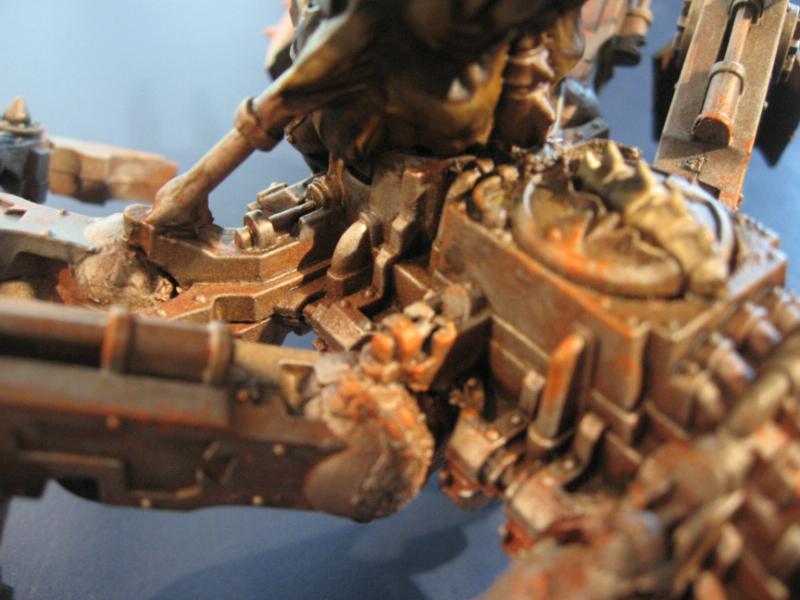
Here are the finished results!
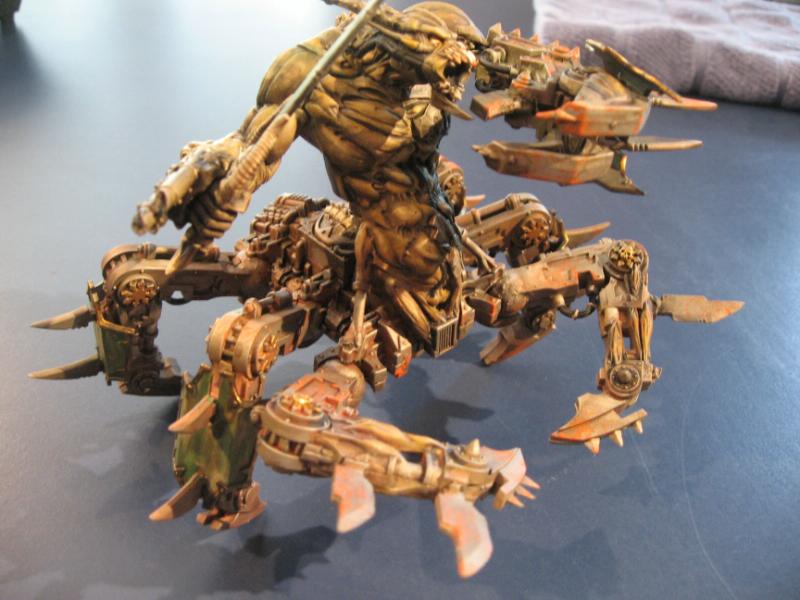
Hopefully this tutorial will be usefully to someone.
No comments:
Post a Comment